Table of Contents
One-To-Many Data Entry
Process of inputting information or metadata to the content that has been uploaded to Axiom Pro

What can you do
One-to-Many Data Entry in Axiom Pro refers to the process of associating a single document entry with multiple metadat entries. This is commonly used when a documents multiple information sets —such as client ID, case number, or project code—but each dataset is stored and tracked individually.
Manual One-to-Many
- In Input, Open a Batch
- Enter the Required Fields
- Click on Ellipses --> Add
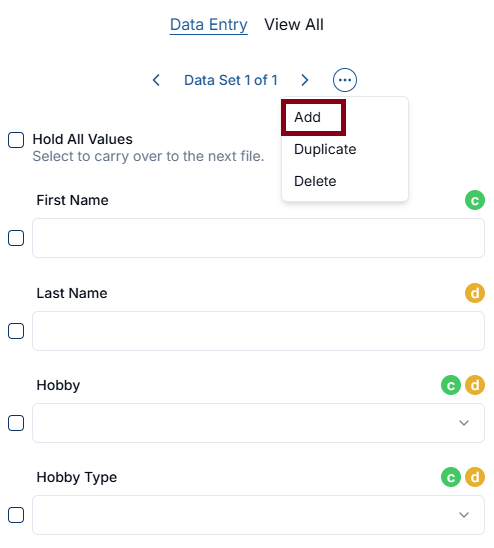
- Repeat steps 2-3 for all data that needs to be entered
- Click Save
Duplicate Data Set
- When data entering content
- Navigate to the data set that need to be duplicated
- Click on Ellipses --> Duplicate
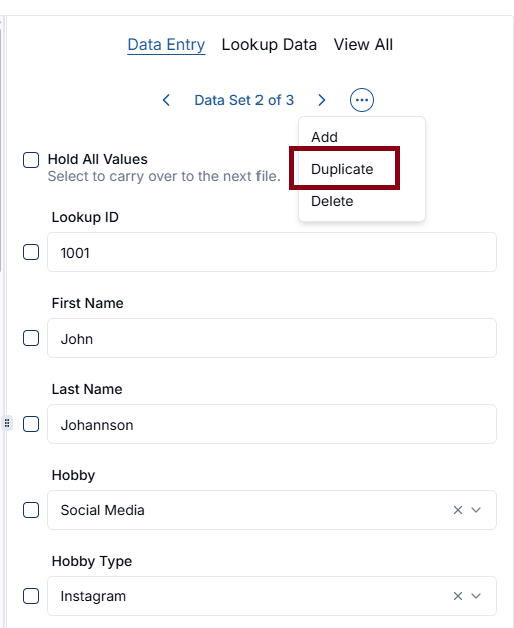
- Click Save
Delete Data Set
- When data entering content
- Navigate to the data set that need to be deleted
- Click on Ellipses --> Delete
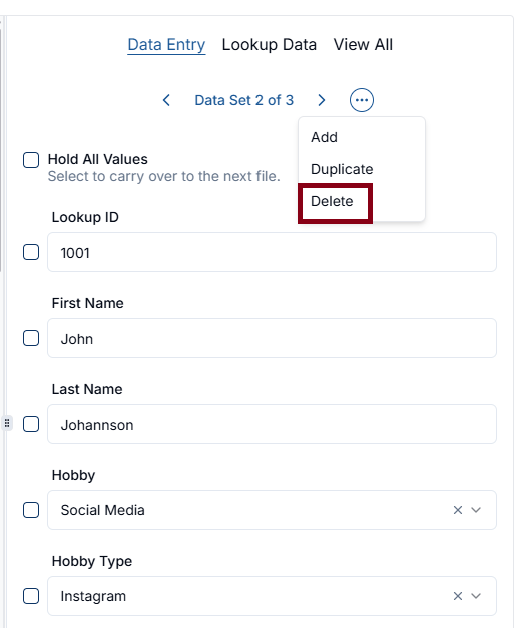
- Click Save
Auto One-to-Many
- In Input, Open a Batch
- Enter the Validation Field
- Click Enter or Return or Tab on the keyboard
- All data sets associated with that field will be populated
- Verify all associated fields are populated
- Enter any other Required Fields
- Click > for all data sets that need to be updated
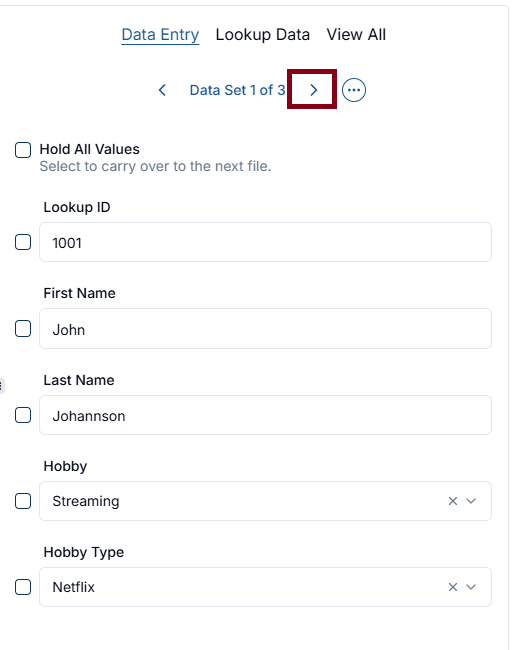
- Click Save
View All Data Sets
To view all data sets that are associated to a content
- When Data Entering a batch
- Navigate to a content
- Click View All in the data entry panel
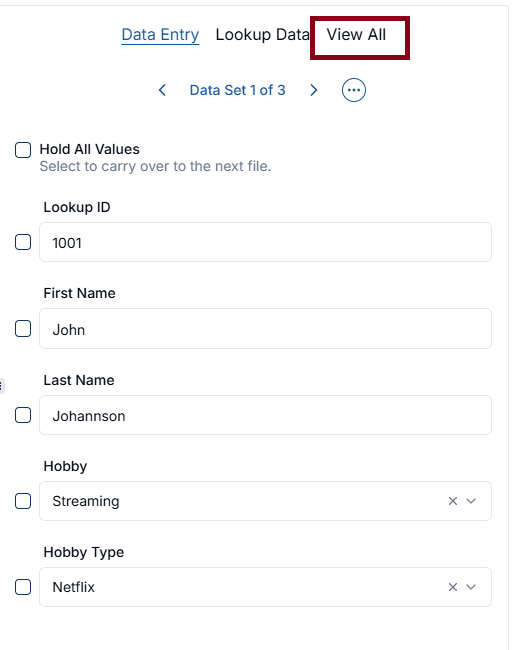
- All applied data sets will be listed

Lookup Data
Lookup Data allows users to view and add new records during the Input process. In Axiom Pro, users can search and select data sets for validation using fields other than the primary lookup key—such as first name, last name, or other relevant identifiers—making it easier to locate and apply the correct information.
- When Data Entering a content
- Click on Lookup Data

- Search for data by using the table filters
- Select all that need to be applied
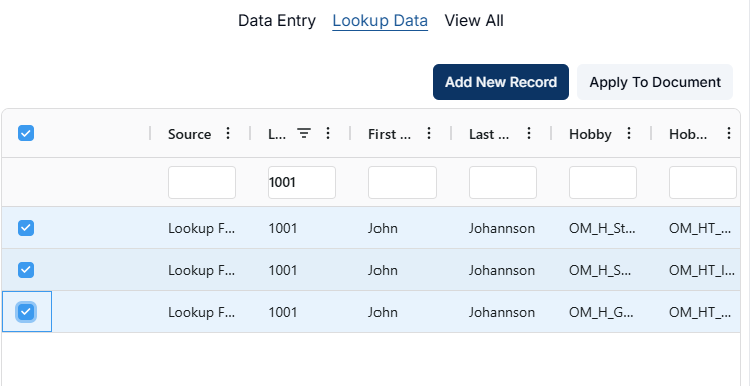
- Click on Apply to Document
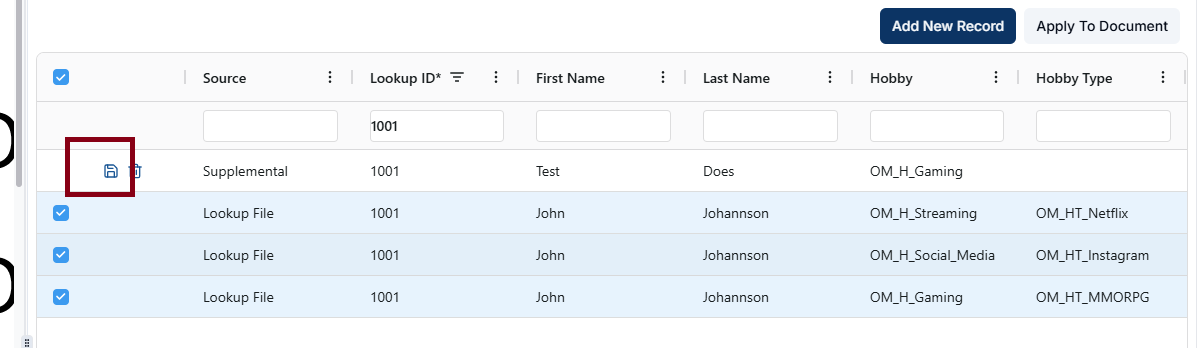
Add New Record
If the records are not available, then there is a way to add records in the lookup table
- In the lookup table
- Click Add New Record
- A new line will be added to the top of the screen with Source as Supplemental
- Enter all required data
- Click on Save
How did we do?
Data Entry