Table of Contents
Disposition Schedules
Create and manage disposition schedules

What can you do
Retention refers to the period of time that documents or data are stored and maintained within Axiom Pro before they are eligible for archival or disposal, based on organizational policies or regulatory requirements.
Axiom Pro supports multiple types of retention schedules to manage document lifecycle:
- Dispose – Removes the document content while retaining associated metadata within the application.
- Expunge – Permanently deletes both the document and its metadata from the system.
- Hold – Excludes documents from Dispose or Expunge actions, preserving them indefinitely for legal, compliance, or operational reasons.

Add Disposition Schedule
To add a new disposition Schedule
- Go to ⚙️--> Retention
- Click on Disposition Schedules
- Click on Add (➕)
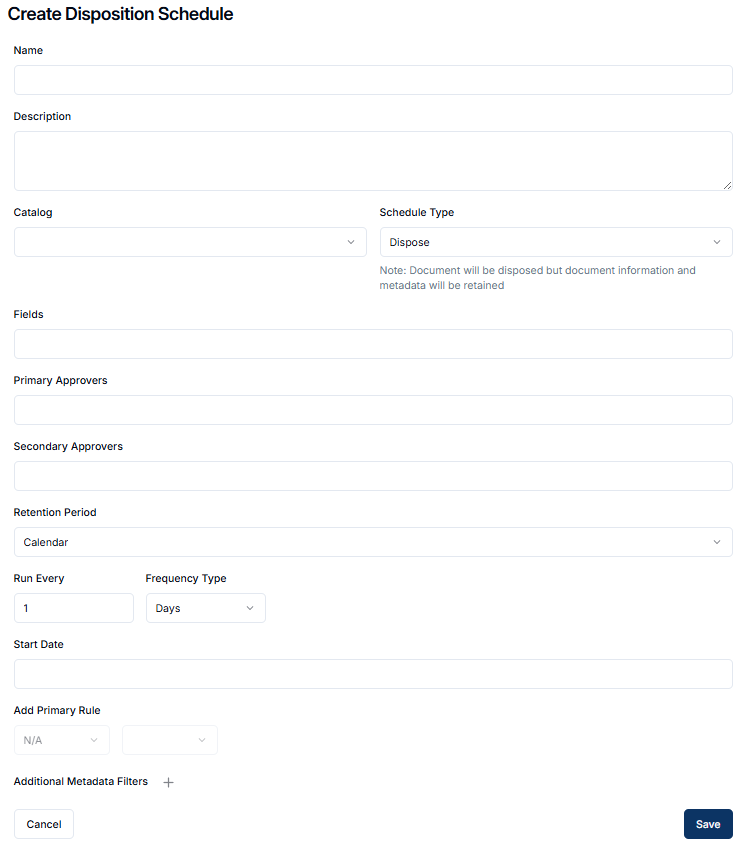
- In Create Disposition Schedule
- Enter Name
- Enter a Description
- Select Catalog
- Select a Schedule Type - Dispose / Expunge
- Set Fields; these will be displayed on the activity page
- Select Primary ApproversYou can select up to 7 approvers
- Select Secondary Approvers (optional)You can select up to 7 approvers
- Set the Retention Period - Calendar, Anniversary or Fiscal
- Set a value and timeframe for frequency under Run Every
- Set the Start Date for the first run
- Add the PRIMARY RULE
- Select a Date Field for the first dropdown - all date fields for selected catalog will be listed
- Set an operator for the second dropdown - e.g., equals, less than, greater than, contains, between
- Select a Date Value in the third field - options vary pending condition
- Set Additional Metadata Filters for refining (optional)
- Click on ➕
- Select a field for the first dropdown - all fields for selected catalog will be listed
- Set an operator from the second dropdown (equals, contains)
- Enter a value to validate against
- Click SAVE
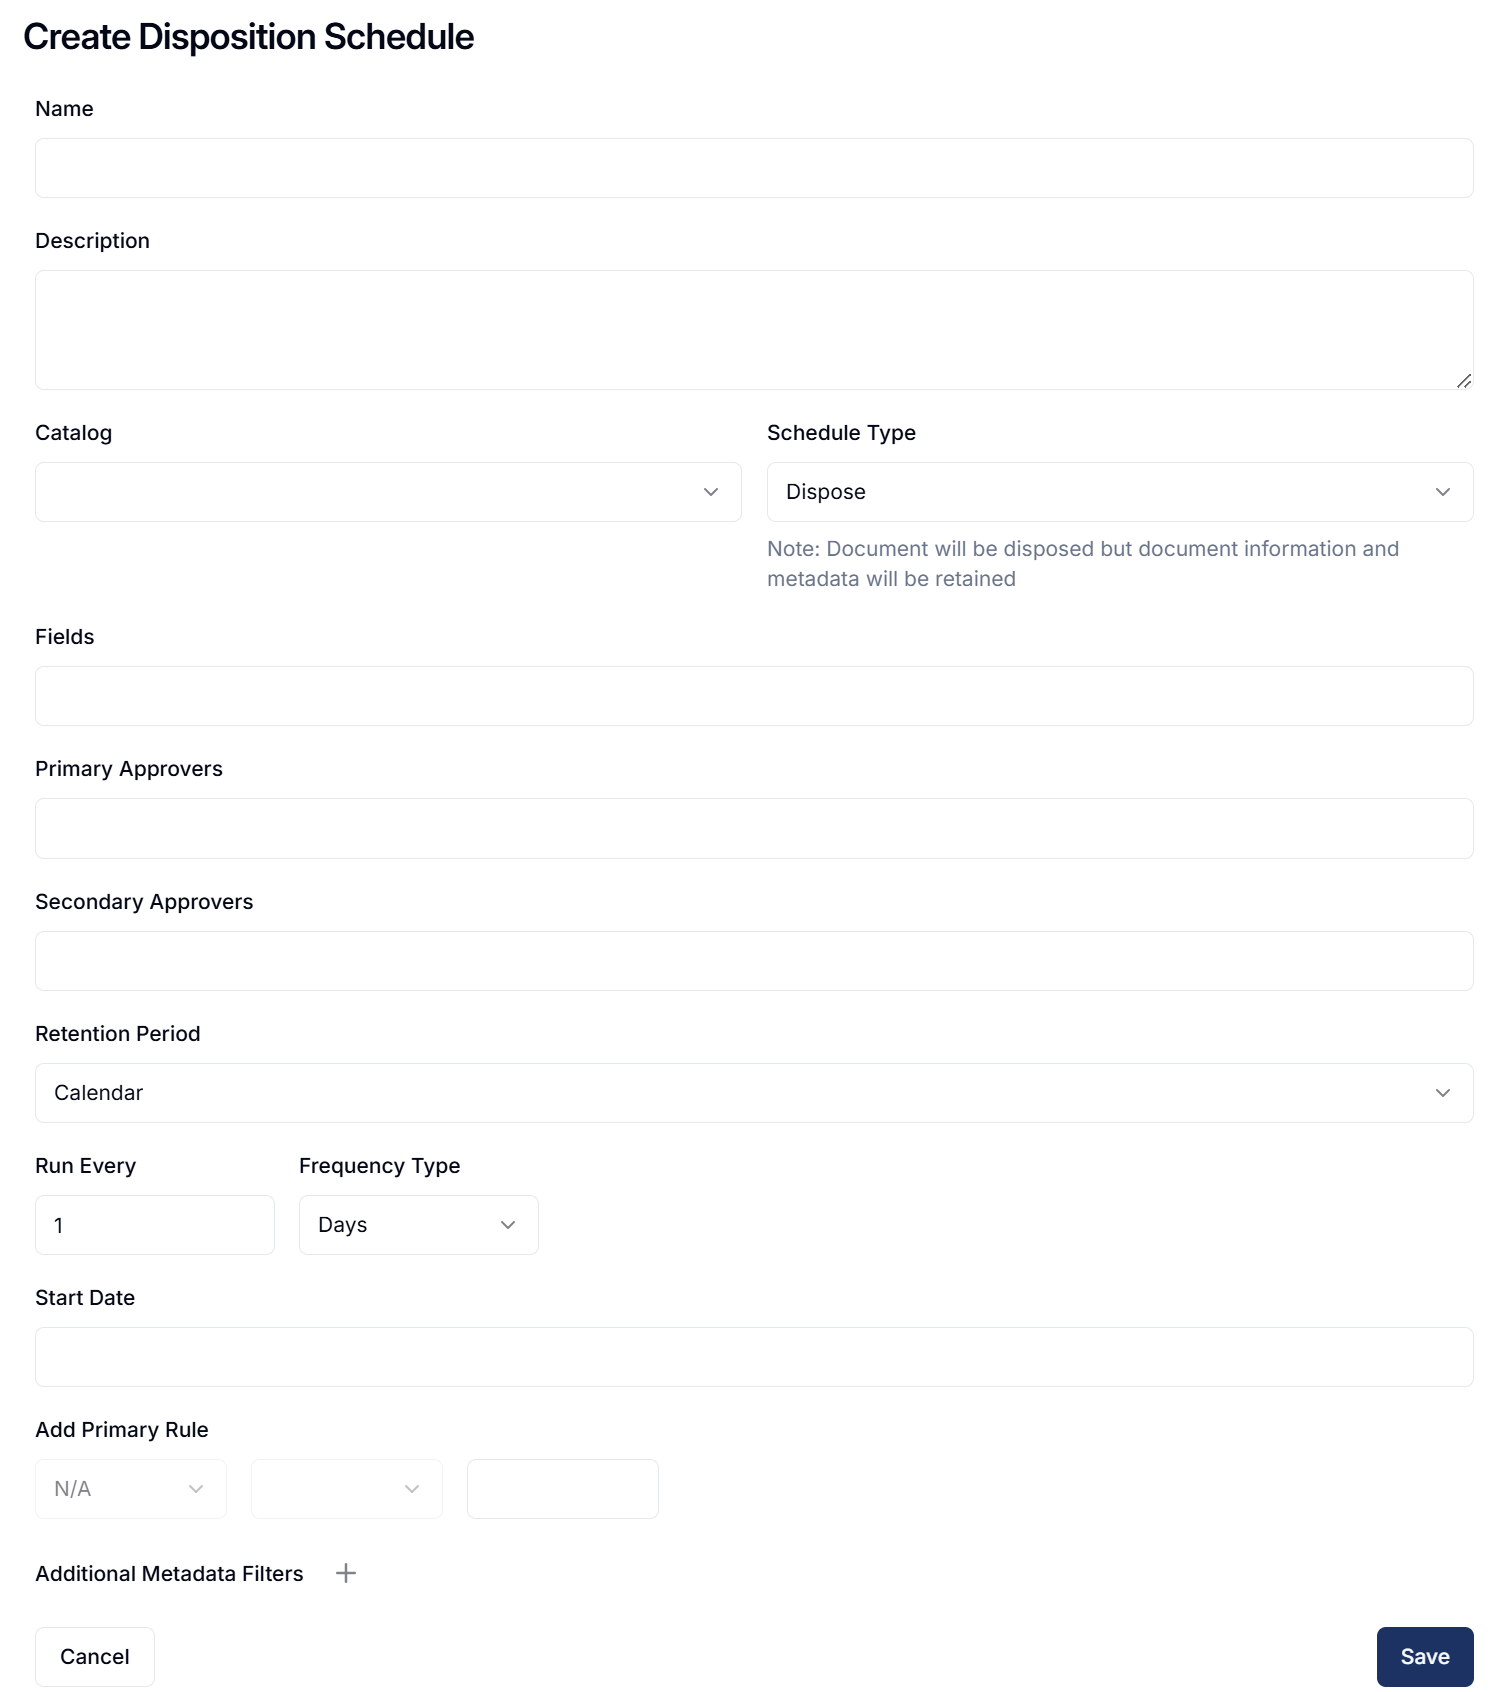
Edit Disposition Schedule
To edit a disposition schedules for Dispose or Expunge -
- Go to ⚙️--> Retention
- Click on Disposition Schedules
- Locate and select the desired schedule
- Click Edit (✏️)
- The Edit Schedule page opens
- Editable fields are restricted based on run status
- Full Edit (name, description, approvers, etc.) is allowed if schedule:
- has run zero times
- has run, but never been approved and has no pending activity
- Partial Edit (approvers, next run date, run every increment) is allowed if schedule:
- has run, never been approved, but has a pending activity
- has been approved at least once in the past
- Full Edit (name, description, approvers, etc.) is allowed if schedule:
- Editable fields are restricted based on run status
- Click Save
Creating a Hold Schedule
- Go to ⚙️--> Retention
- Click on Disposition Schedules
- Click on Add (➕)
- In Create Disposition Schedule
- Enter Name
- Enter a Description
- Select Catalog
- Select a Schedule Type - Hold
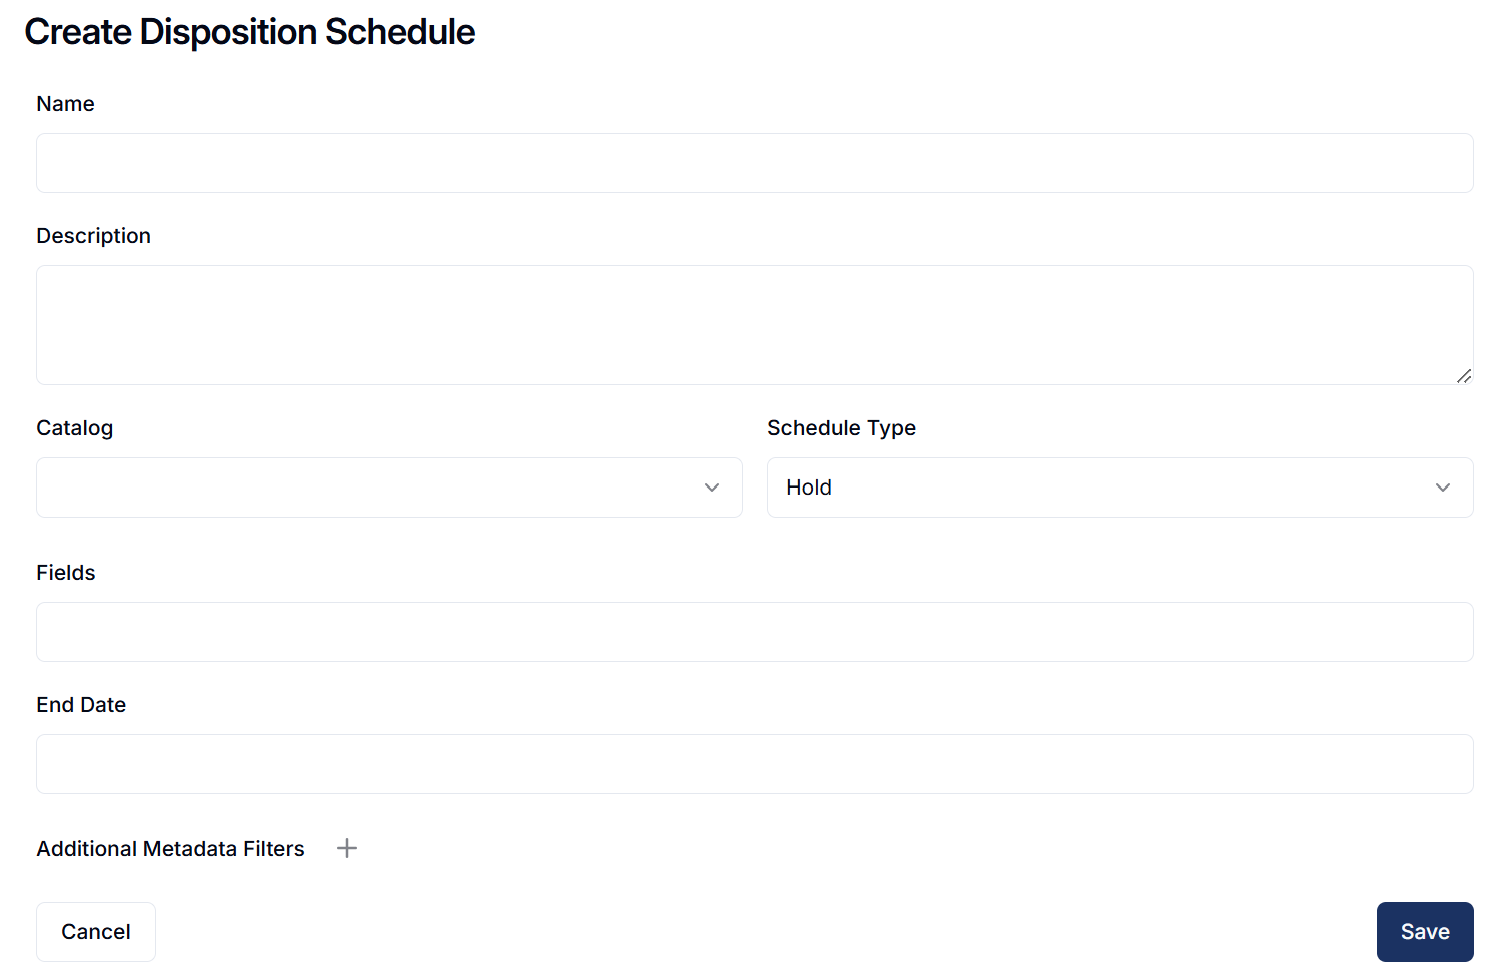
- Set Fields to Display
- Set the End Date
- Set Metadata Filters for refining
- Click on ➕
- Select a field for the first dropdown - all fields for selected catalog will be listed
- Set an operator from the second dropdown (equals, contains)
- Enter a value to validate against
- Repeat as needed
- Click Save
Edit a Hold Schedule
To edit a retention schedules for Hold, follow the instructions below:
- Go to ⚙️--> Retention
- Click on Disposition Schedules
- Locate and select the desired hold schedule
- Click Edit (✏️)
- Click Edit from the Action menu, the Edit Schedule page opens
- Editable fields are restricted to Fields to Display and End Date
- Click Save
Deactivate a Schedule
When a disposition schedule is added, it is set to Active by default. You may decide to deactivate a schedule if required
- Go to ⚙️--> Retention
- Click on Disposition Schedules
- Locate and select the desired schedule that needs to be deactivated
- Click on Toggle Status
- The schedule will be deactivated and will no longer run
Activate a Schedule
You may decide to activate a previously deactivated schedule
- Go to ⚙️--> Retention
- Click on Disposition Schedules
- Locate and select the desired schedule that needs to be activated
- Click on Toggle Status
- The schedule will be activated and will run per the next schedule
For Dispose and Expunge schedules
- They become available to run again
- The next run will be based on the previously saved Next Run Date
- If greater than the reactivation date no change is made
- If less than or equal to the reactivation date, then it’s set to the next day
For Hold schedules
- The activity is set to run immediately
- Sets the hold criteria as a filter for other dispositions
- Removes documents meeting the filter criteria from existing disposition activities
View Activity
Used to view details for disposition activity.
- Go to ⚙️--> Retention
- Click on Disposition Schedules
- Locate and select the desired schedule that needs to be viewed
- Click on Ellipses --> View Activity
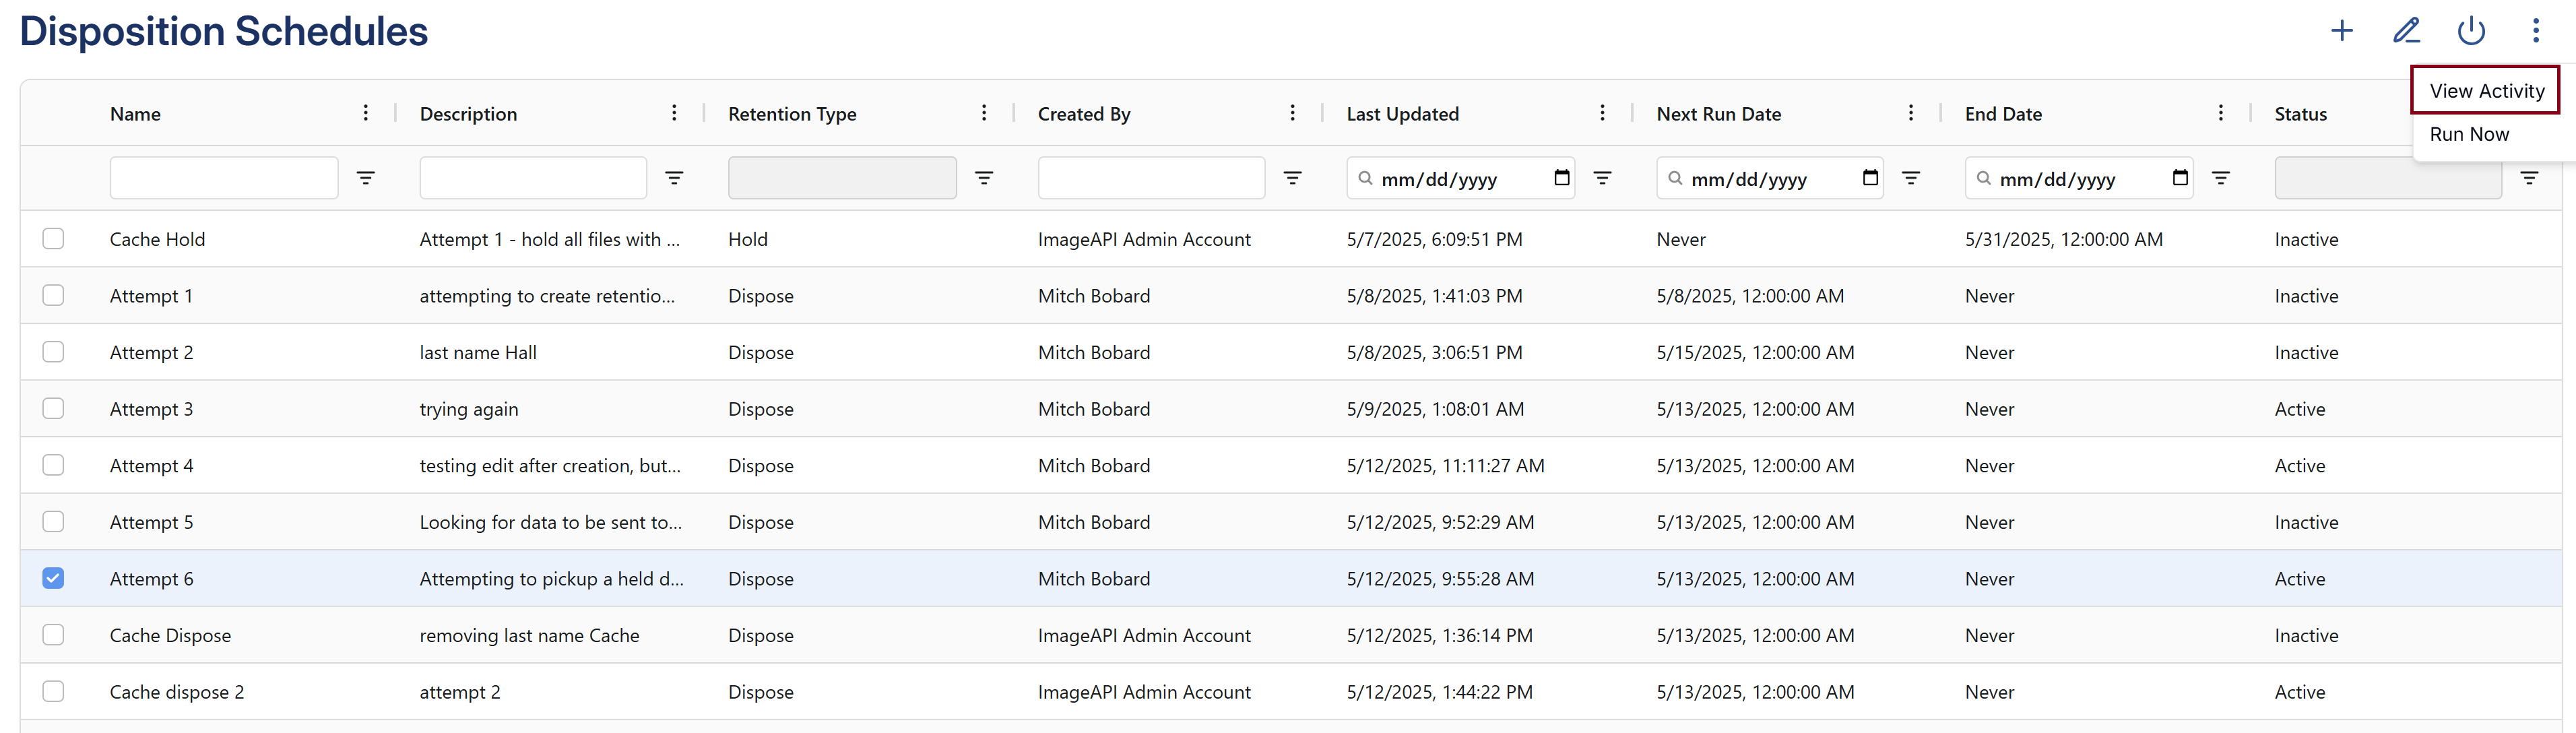
- Disposition Activity page opens filtered to the most recent run for the selected schedule
Run Now
As a user with the Retention Management permission, you may decide to run a dispose or expunge schedule adhoc. Choosing to run a schedule this way will not change the Next Run Date.
- Go to ⚙️--> Retention
- Click on Disposition Schedules
- Locate and select the desired schedule that needs to be run
- If the active schedule has an activity pending approval it will need to be resolved first
- Click Ellipses --> Run Now

How did we do?
Disposition Activity