Table of Contents
Overview
What can you do with Capture

What can you do
Axiom Capture is a document scanning imaging application for digital documents and other electronic media. Capabilities include document scanning, capture, storage, retrieval, manipulation, and sharing in conjunction with Axiom Pro. Axiom Capture is a Windows-based desktop scanning application.
Install Axiom Capture
- Click on Profile
- Click on Tools
- Click on Axiom Capture (Download)
- Follow the prompts to download and install the application
- Add temp folder
- Create a folder named "axcap" on C: drive
- Right click to get to properties
- Select Sharing tab
- Click Share and Add "everyone" with Read/Write permission
- Click "Share" | "Done" | "Close"
Launch Axiom Capture
- Click on Profile
- Click on Tools
- Click on Axiom Capture (Launch)
- Axiom Capture will open
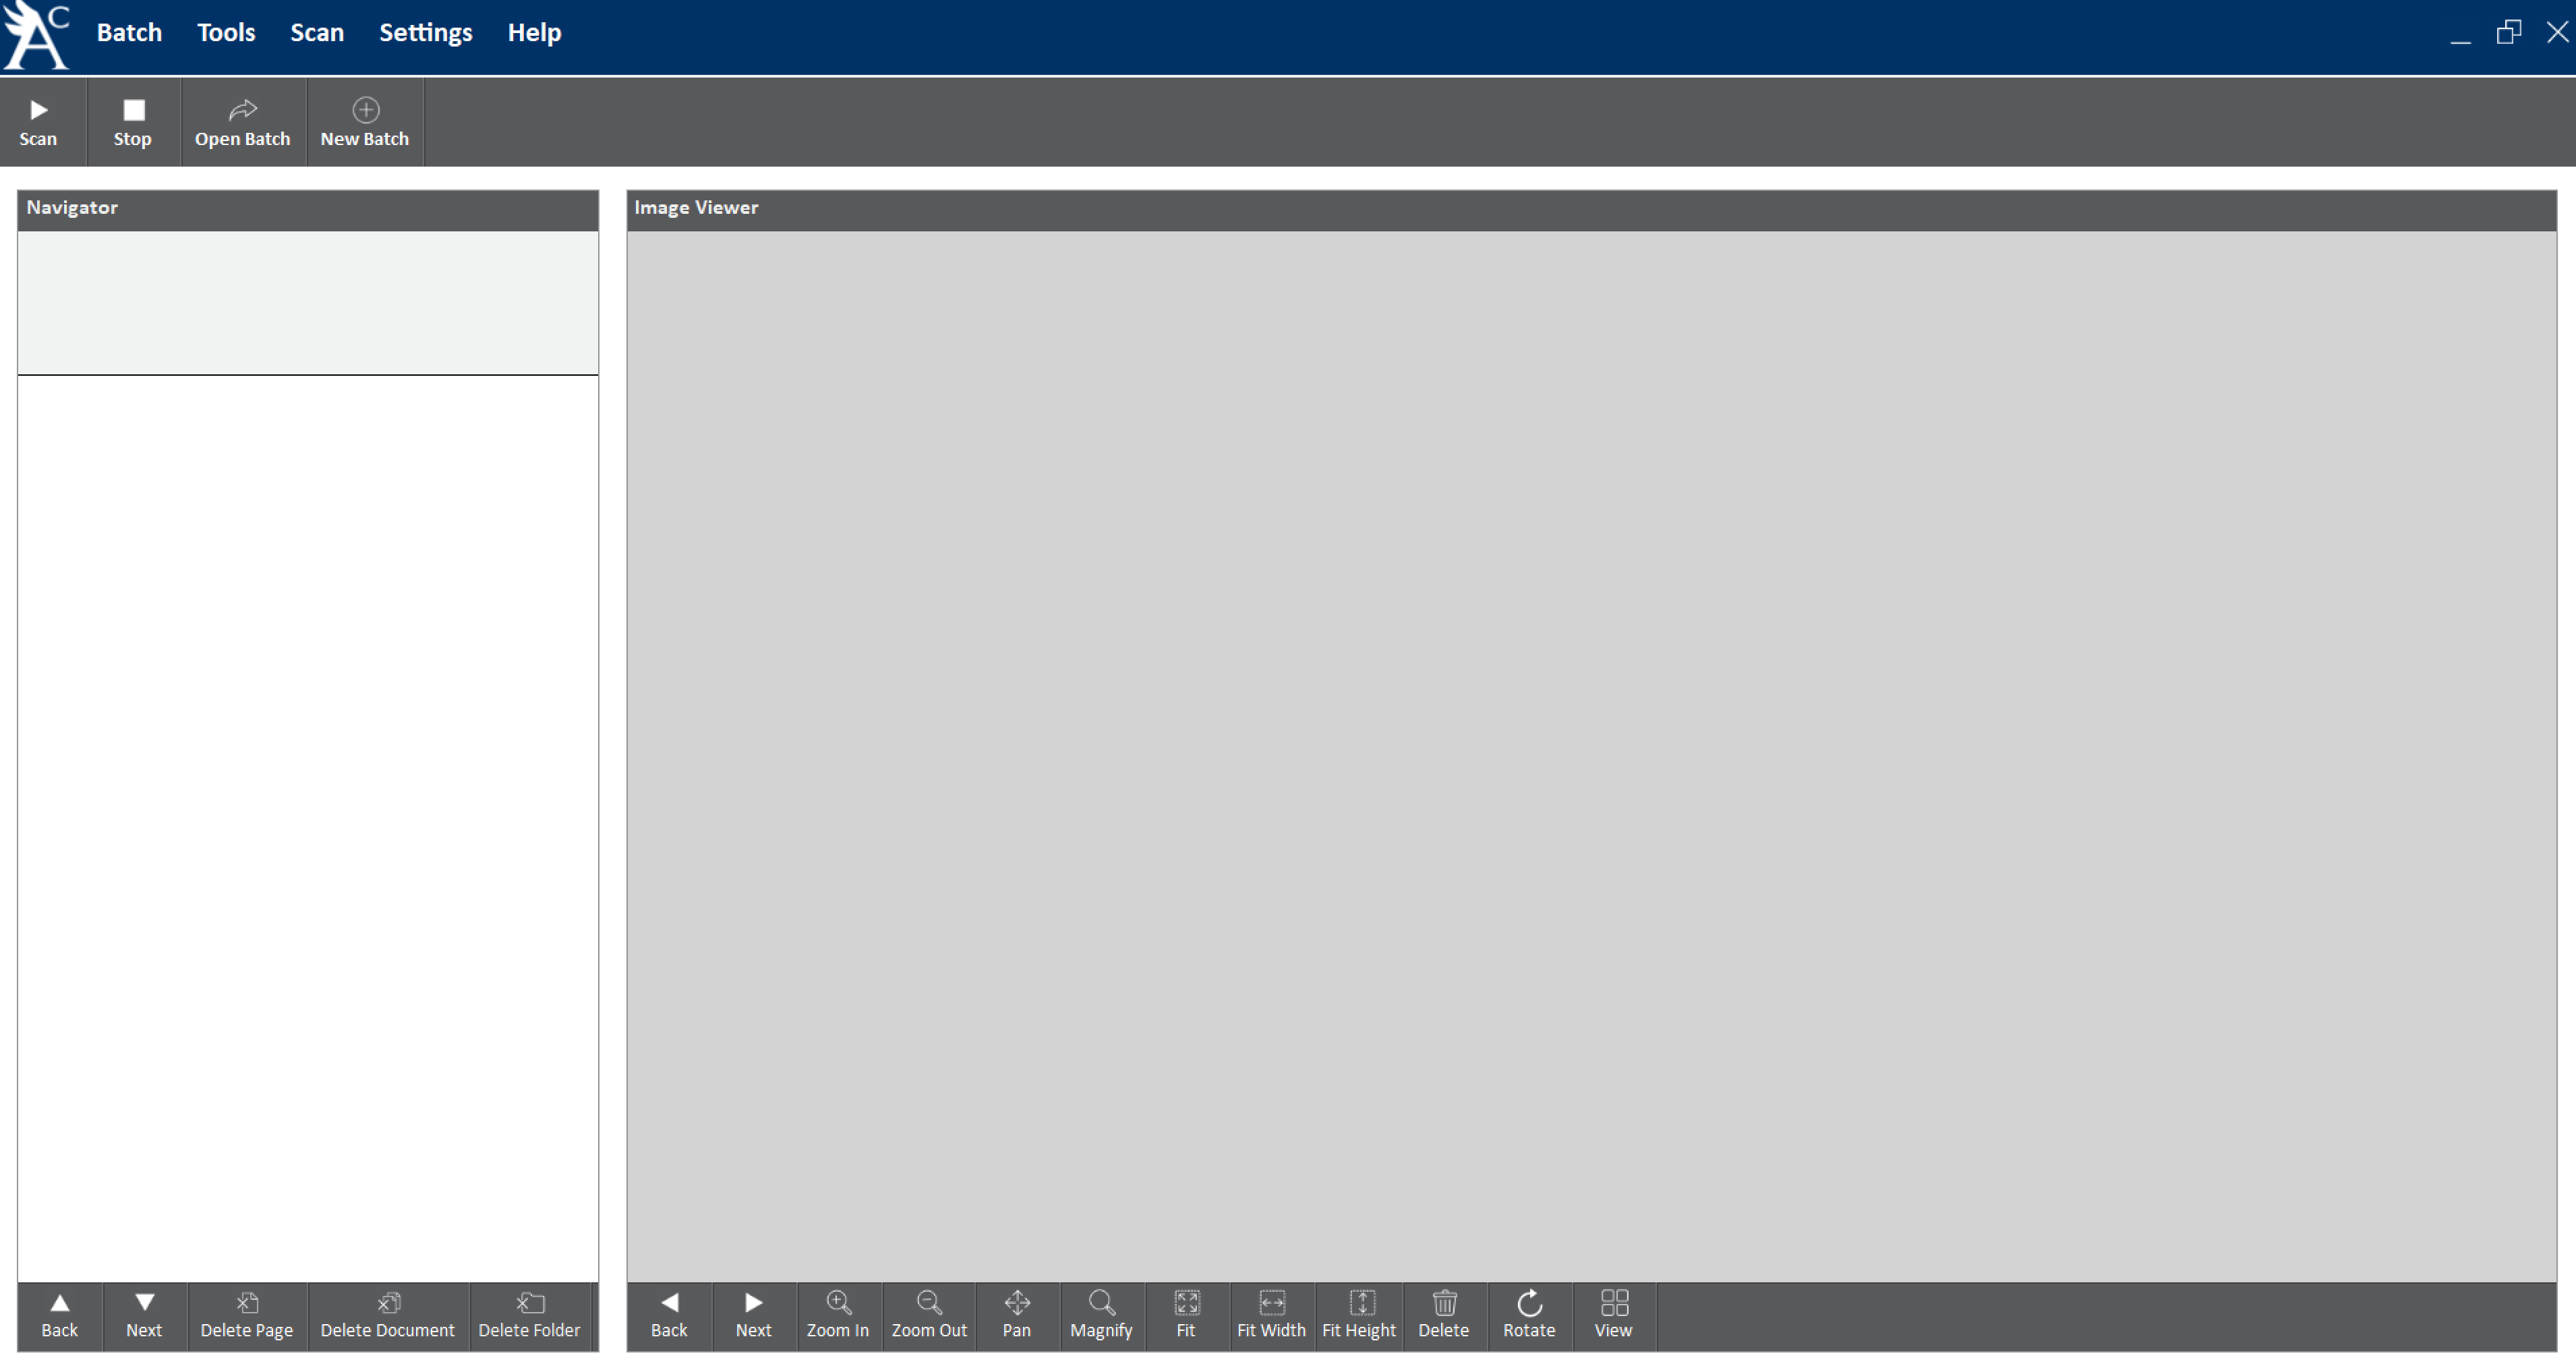
Application Screen
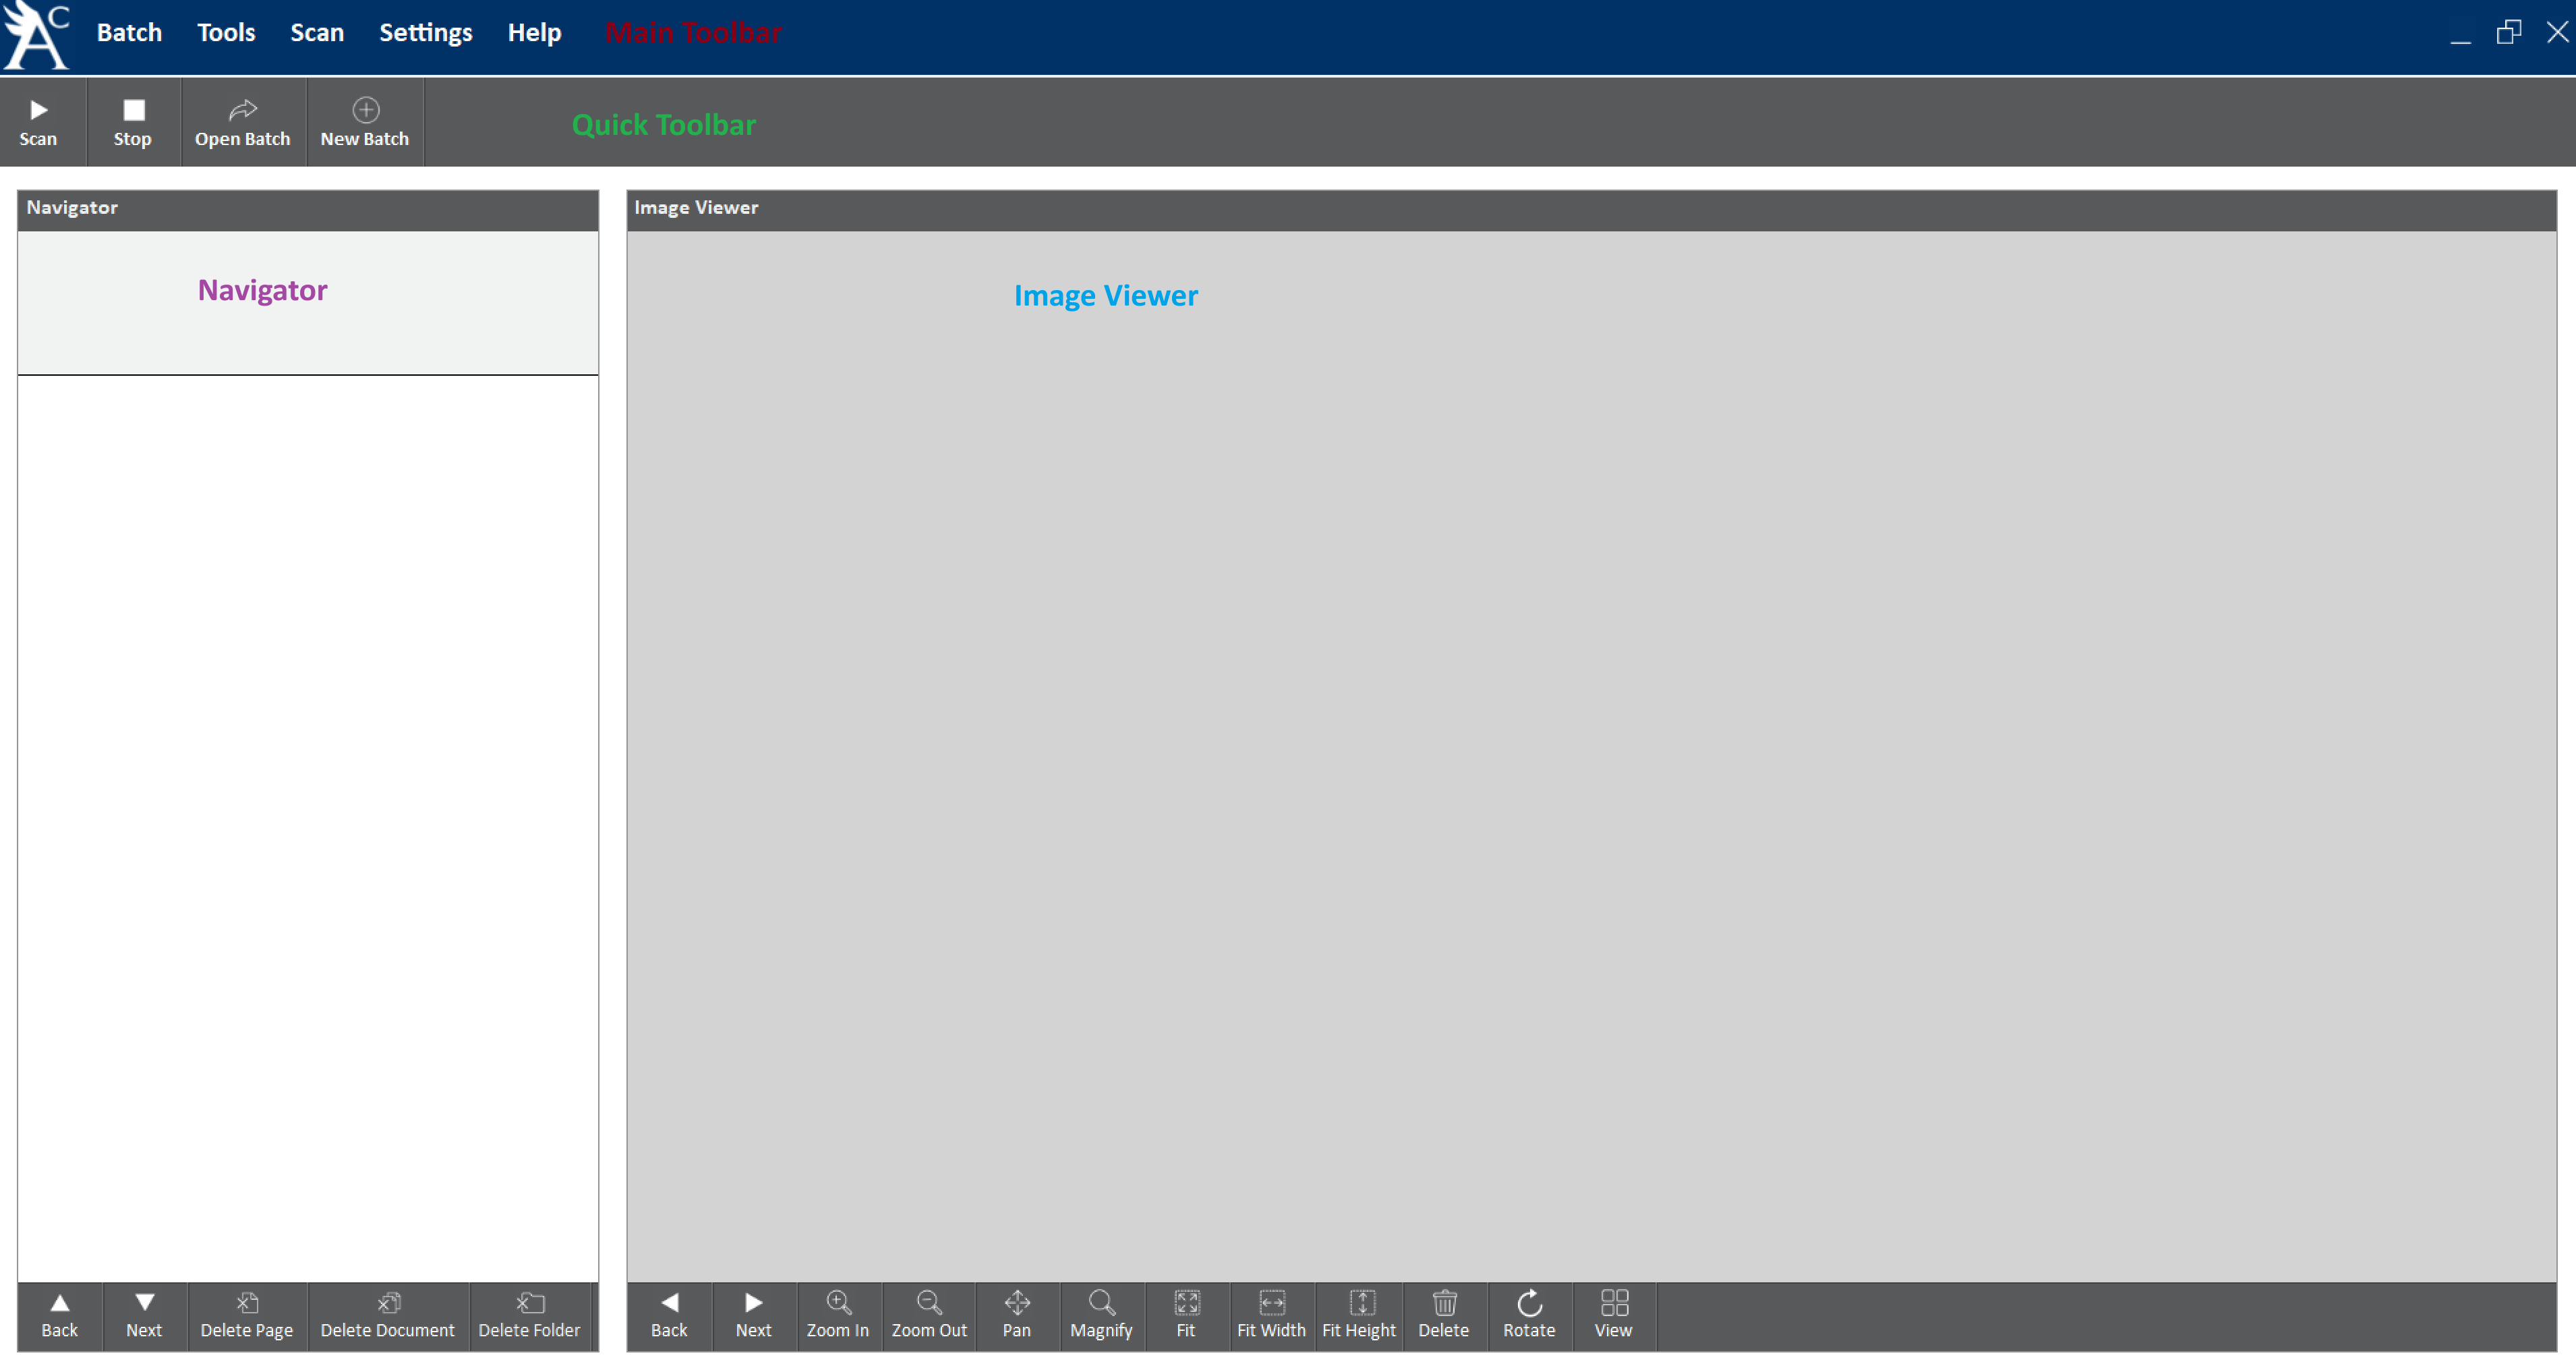
Main Toolbar
Batch
Outlines the operations you can perform on a batch to help manage its contents or status.
Item | Description |
New Batch | Create a new batch that needs to be scanned |
Open Batch | Opens an existing batch to add / edit the images |
Delete Batch | Deletes an existing batch and the images in the batch |
Close Batch | Closes and open batch |
Finish | Marks the batch as complete and uploads the images to Axiom Pro |
Tools
Item | Description |
Insert Page Before | For any open batch, select this option to scan and insert page(s) before the selected page. The pages in the scanner feeder will be inserted. The ctrl+shift+F6 shortcut key may be used for this function. |
Insert Page After | For any open batch, select this option to scan and insert page(s) after the selected page. The pages in the scanner feeder will be inserted. The shift+F6 shortcut key may be used for this function. |
Replace Page | For any open batch, select this option to scan and replace a single page from already scanned pages. The pages in the scanner feeder will be added and the selected page will be removed. The shift+F9 shortcut key may be used for this function. |
Split - New Folder | For any open batch, this option can be used to create a new folder to achieve the hierarchical level as needed. A new folder can be created by using a separator sheet with the physical pages while scanning. If the separator sheet is not available or there is a need to split pages/documents into a separate folder after scanning, you may use this function. The F4 shortcut key may be used for this function. |
Split - New Document | For any open batch, this option can be used to create a new document to achieve the hierarchical level as needed. A new document can be created by using a separator sheet while scanning. If the separator sheet is not available or there is a need to split pages into separate documents after scanning, you may use this function. The F10 shortcut key may be used for this function. |
Delete Page | For any open batch, this option can be used to delete the selected page(s) either from the tree view or the thumbnail view. |
Delete Document | For any open batch, this option can be used to delete a selected document from the tree view. |
Delete Folder | For any open batch, this option can be used to delete a selected folder from the tree view. |
Rotate Page(s) | You may select: Rotate Selected Page(s), Rotate All Pages in Selected Document, or Rotate All Pages in the Current Batch either rotate 90°, 180° or 270°. |
Toggle Thumbnail View | For any open batch, you may use this option to toggle the image view between single image/ full view, and multiple images/thumbnail view. The F1 shortcut key may be used for this function. |
Scan
The Scan menu contains the scan function. Clicking on “Scan” will start the scanning process under a batch. The F6 shortcut key may be used for this function.
Settings
Item | Description |
Select Scanner | Scanners must be set up and configured prior to scanning documents. You will select a scanner that is connected to your machine. |
Scanner Settings | This provides the pre-defined scanner settings for the scanner selected by you and may be edited by you. |
Help
Item | Description |
About | Opens a pop-up displaying the current Axiom Capture version number, current year, and Image API, LLC. |
User Guide | Opens the user guide for Axiom Capture |
View Log | Opens the log for the open Axiom Capture session |
Quick Toolbar
Item | Description |
Scan | Starts scanning pages in the scanner feeder to the open batch. |
Stop | Stops scanning. |
Open Batch | Opens the pop up for “Open Batch”. |
New Batch | Opens the pop up for “New Batch”. |
Navigator
The navigator section contains information about the current batch. This section is divided in 2 sub-sections -
Batch Information
Provides the basic information about the batch
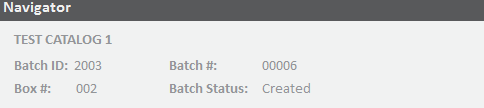
Item | Description |
Catalog Name | Catalog to which the images / document will be uploaded |
Batch ID | System generated automated ID |
Batch # | User provided value when creating a batch |
Box # | User provided value when creating a batch |
Batch Status | Status of the opened batch |
Batch View
The middle section consists of the view of the scanned documents.
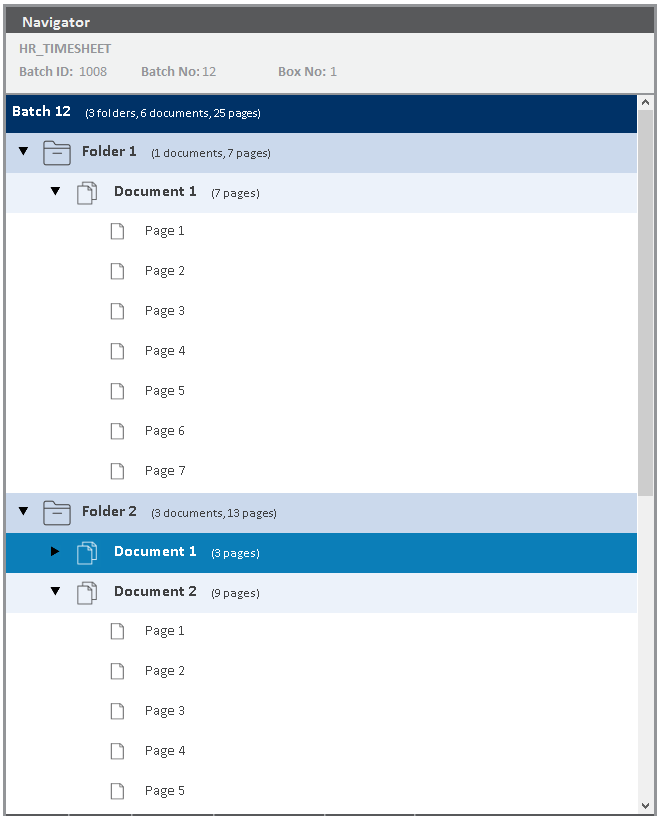
Item | Description |
Batch Level | Batch ID will be displayed with the total number of folders, documents, and pages scanned following the Batch ID.  |
Folder Level | Folder number will be displayed in ascending order with the total number of documents and pages scanned following the Folder.  |
Document Level | Document number will be displayed in ascending order with the total number of pages scanned following the Document Level.  |
Navigator Toolbar
The bottom section is a toolbar for quick actions.

Item | Description |
Back | Moves the focus to the previous page available in the tree view. The previous page will become the current page. |
Next | Moves the focus to the next page available in the tree view. The next page will become the current page. |
Delete Page | Deletes the selected page(s). |
Delete Document | Deletes the selected document(s) and all page(s) under it. |
Delete Folder | Deletes the selected folders(s) and all document(s) / page(s) under it. |
Image Viewer
Image viewer section is on the right side of the main screen and consists of two subsections. Scanned images can be viewed in this section.
Image Viewer Toolbar
The bottom toolbar provides you with some quick actions.

Item | Description |
Back | Moves the focus to the previous page available in the tree view. The previous page will become the current page. |
Next | Moves the focus to the next page available in the tree view. The next page will become the current page. |
Zoom In | Enlarges the image available in the viewer. |
Zoom Out | Reduces the image available in the viewer. |
Pan | Enables the pan option to be used on the available image. |
Magnify | Enables the magnifier to be used on the available image to enhance the image. |
Fit | Fits the page on the image viewer. |
Fit Width | Fits the page according to the width on the image viewer. |
Fit Height | Fits the page according to the height on the image viewer. |
Delete | Deletes the current page available in the image viewer. |
Rotate | Rotates the image clockwise or counter-clockwise 90°. |
View | Changes the image viewer to display the thumbnail view of the images. |
Thumbnail Viewer Toolbar
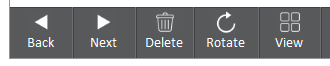
Item | Description |
Back | Moves the focus to the previous page available in the tree view. The previous page will become the current page. |
Next | Moves the focus to the next page available in the tree view. The next page will become the current page. |
Delete | Deletes the current page available in the image viewer. |
Rotate | Rotates an image clockwise or counter-clockwise 90°. |
View | Changes the image viewer to display the thumbnail view of the images. |
Zoom In/Out | Increase/decrease the image thumbnail size by clicking and holding on the view icon for three seconds. A zoom in/out scroll will be displayed to perform the action. 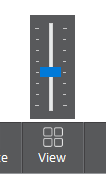 This action is only available for thumbnail view. |
How did we do?
Working with a Batch